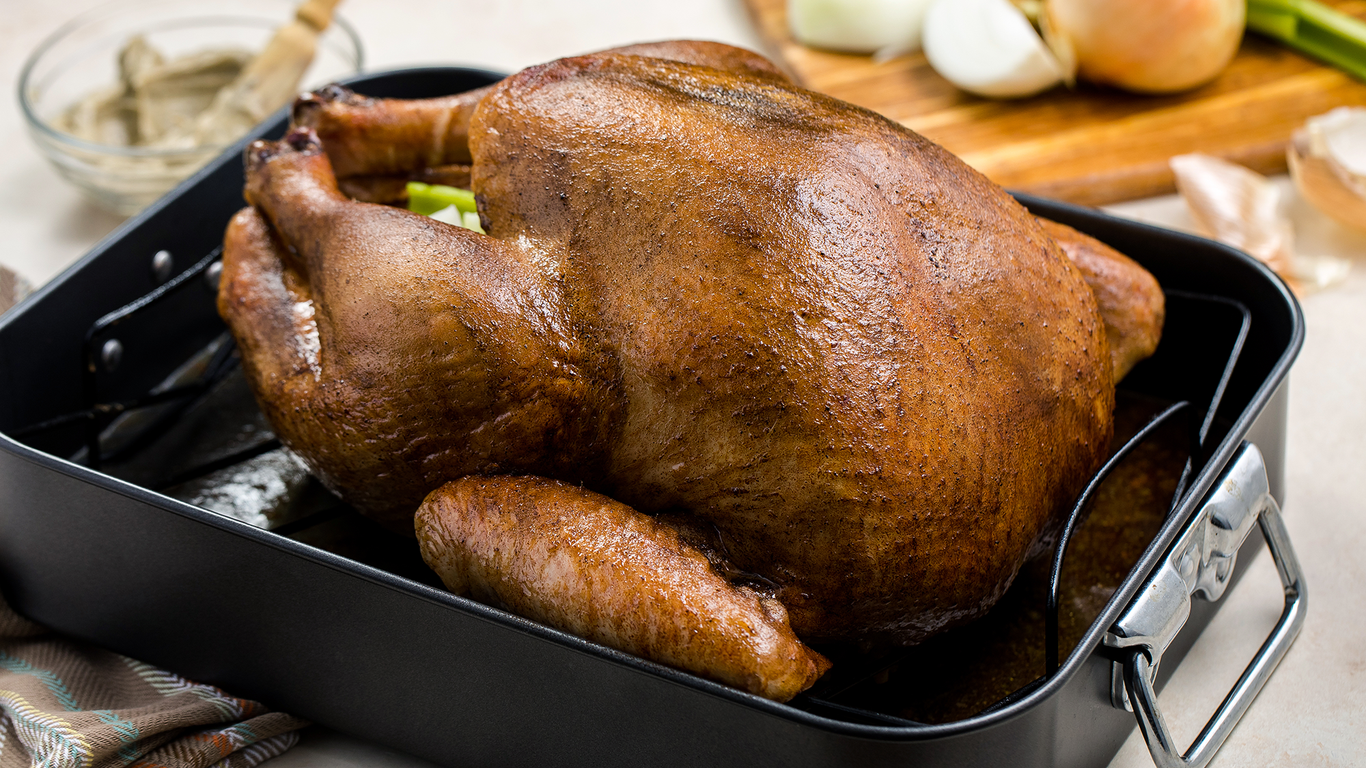
Cooking a Thanksgiving dinner can be a pretty labor-intensive affair—especially if you’re hosting a big crowd. Luckily, in our latest F&W Cooks video, Senior Food Editor Mary-Frances Heck demonstrates a turkey recipe that only needs to roast for one hour. (Yes, you read that correctly.)
It involves dry-brining the turkey with salt a few days beforehand, and then, spatchcocking the turkey before roasting so that it cooks evenly and quickly. The latter may seem intimidating, but it’s actually a pretty easy process, and Mary-Frances guides you through step-by-step. Once the turkey’s out of the oven, you’ll be glad you did it—the result is some of the juiciest turkey you’ll ever have, with incredibly crispy skin.
Read on for Mary-Frances’ key tips, and get the recipe here.
Defrost the turkey
Mary-Frances says the turkey will typically come frozen, which means it needs to defrost slowly. For best results, she recommends getting started the weekend before Thanksgiving—buy a turkey no later than Saturday, and defrost it in the fridge so that it maintains the most moisture possible.
Pat it dry and wear gloves
Once the turkey has defrosted, Mary-Frances takes it out of the packaging and pats it dry with paper towels, making sure the cutting board is very, very dry as well. This prevents the meat from sliding around while you cut.
She also recommends wearing gloves when handling raw poultry—wash your hands after you take them off.
Remove the backbone…
Spatchcocking simply means removing the backbone from the turkey and flattening it so it roasts evenly. Mary-Frances grabs poultry shears and recommends starting by the tail—you find the backbone, which runs down the middle, and start cutting about an inch away from it on either side. Cut in a straight line away from your body and use your opposite hand to brace the turkey. Then, on the other side, use a knife and cut toward yourself.
…and save it
Once the spine is removed, Mary-Frances recommends throwing it in the freezer and saving it until you have enough bones for a stock.
Flatten the turkey
To complete the spatchcocking process, Mary-Frances takes the legs of the turkey and turns them inward—then, she presses down on the breastbone with the palms of her hands to flatten it. You’ll hear a cracking noise when this happens.
Loosen the skin
Next, Mary-Frances recommends reaching under the skin of the turkey (keep those gloves on) and loosening it so that you can get the seasoning under there. It may seem gross, but it will make the turkey delicious.
Time to dry-brine
Mary-Frances explains that dry-brining means sprinkling salt on the meat. For this recipe, you want to do it two days in advance—so on Tuesday, if you plan on serving the turkey Thursday. She uses one teaspoon of kosher salt per pound of meat, seasoning under the skin, the breast, and all over the surface of the turkey, including the underside. As a last step, she tucks the wing tips behind the breast.
Refrigerate it
Once the turkey is salted, place it on a sheet pan lined with a rack—and make sure the wing tips stay tucked. Cover it with plastic wrap and refrigerate it for 36 hours. This will allow the salt to dissolve and penetrate the meat, seasoning the turkey evenly and deliciously. The air in the fridge will also cause the skin to tighten up, ensuring it gets super crispy in the oven.
Cook it
You can unwrap the turkey the night before or the morning of. Then, slide pats of butter under the skin and smooth them out. This helps to baste the meat and keep it juicy as it melts, and gets the skin ultra-crispy. Once that’s all set, place the turkey in the oven, add broth to the pan underneath, and cook it for about one hour, until the breast registers about 150 degrees.
Carve It
The turkey should be golden brown and crispy when it’s done cooking. To carve the it, Mary-Frances first removes the legs, which you separate into drumsticks and thighs. She also takes her knife and cuts the turkey breast away from the breast bone—once it’s removed, you carve it with cross-wise slices, breaking it into small, manageable pieces.
The finishing touch
Mary-Frances serves the carved turkey on a platter garnished with sliced citrus. As for the wine pairing? She recommends a Riesling. It’s relatively low-alcohol, food-friendly, and amplifies the flavor of the turkey.
This article was written by Bridget Hallinan from Food & Wine and was legally licensed through the NewsCred publisher network. Please direct all licensing questions to legal@newscred.com.


