If I had to pick a favorite BBQ appetizer, it would probably be deviled eggs. They are savory, the perfect size, and have a decidedly retro feel that I find incredibly charming. They’re also an incredibly easy dish, but one that is riddled with pitfalls, especially if you’ve never been “in charge” of the deviled eggs before. Here are a few of my favorite deviled egg strategies, from how to cook them (so they’ll actually peel) to flourishing final touches.
Poke a hole to make them pretty
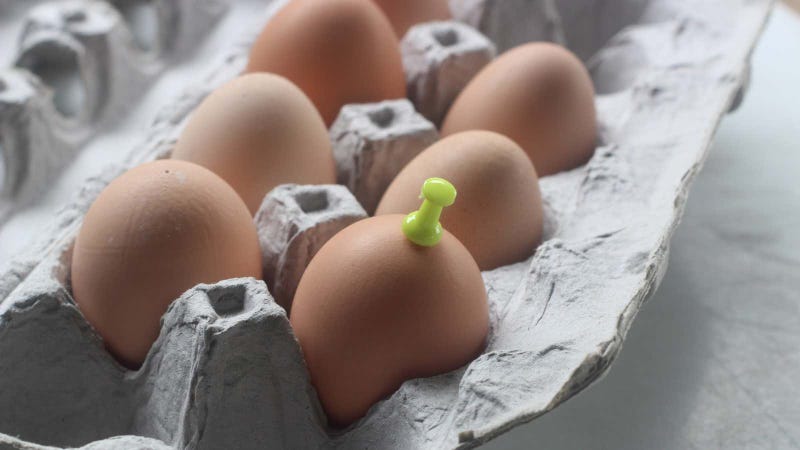
Photo: Claire Lower
Poking a hole in the fat bottom—not the more slender top—of your egg before plunging it into boiling water can keep the shell from cracking and the whites from spilling out into the bubbling water, but it also results in eggs with beautifully smooth bottoms.
Come in hot for easier peeling
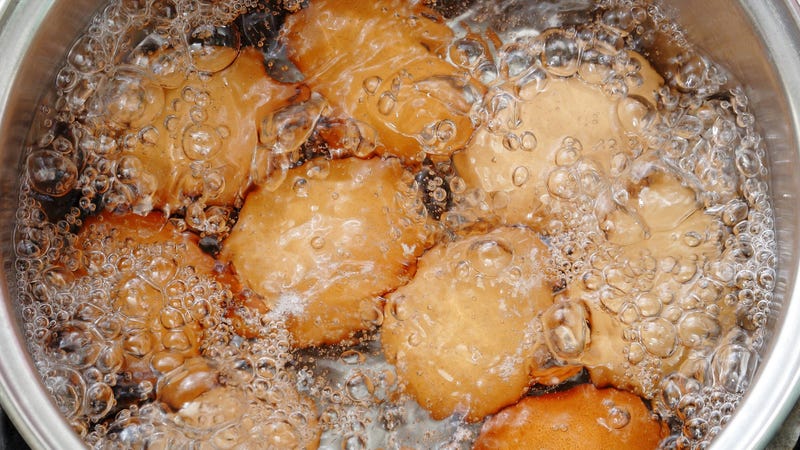
Photo: Teim (Shutterstock)
The worst thing you can do to soon-to-be-boiled egg is start it in cold water. Bringing your eggs from fridge cold to a boiling hot with the water causes the membrane to fuse to the white, resulting in marred, scarred-looking deviled eggs. (And no, I’ve never found the vinegar trick to be helpful.)
I like starting my (poked) eggs in boiling water, letting them boil for 10 minutes, then plunging them into an ice bath (if there are a whole bunch) or rinsing them under cold water (if there are only a few and I plan to eat them immediately). I rarely have trouble with peeling. I’d say I encounter one slightly un-peelable egg every dozen or so, which is allowable, considering that eggs and their shells are made up of complex organic systems.
You can also steam your eggs to similar effects (and very tender whites). Just fill a pot with about an inch or water, set a steamer basket inside, cover, and bring to a boil over high heat. Add the eggs and cook for 11-12 minutes before cooling in and ice bath or under cold running water.
Don’t overcook them
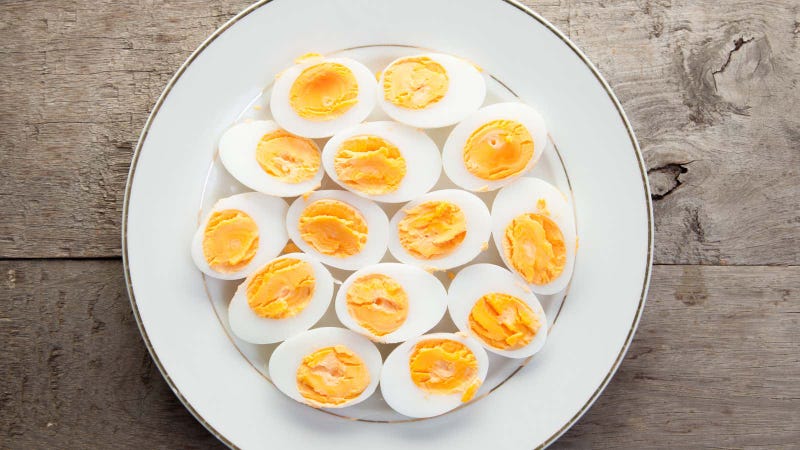
Photo: WIN12_ET (Shutterstock)
Deviled eggs should be a celebration of the golden, flavorful yolks, and overcooking into a chalky, grey-ringed orb is just plain disrespectful. You want your yolks to still look a little damp when you slice your egg in half, which is why I usually boil mine for 10 minutes, rather than the usual 11 or 12 suggested by a lot of deviled egg recipes. The slightly “undercooked” yolk makes the filling a little more custardy, which means there’s no reason to hide powdery yolks with too much mayo.
But don’t panic if you’re out of “shocking ice”
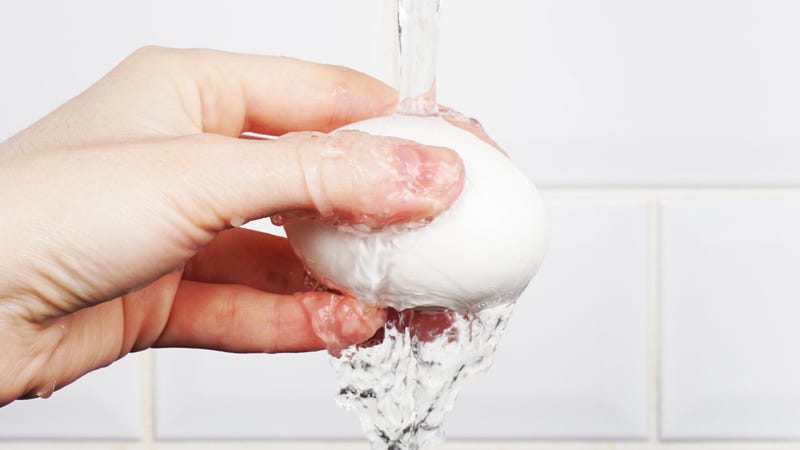
Photo: Z U M R U T (Shutterstock)
Shocking hot, hard-boiled eggs in an ice bath is the easiest way to stop the cooking process. Residual heat can lead to the dreaded gray ring, but ice isn’t 100% necessary. If you’re out of frozen water, you can keep your eggs from over-cooking (and that sulfurous ring from forming) by shaving a minute off of your usual cook time and cooling them off by dumping them in a colander and running them under cold water until they are cool enough to the touch. Peel them immediately or store them in a bowl of fresh cold water, and set in the fridge until you’re ready to devil them.
Enlist your Instant Pot
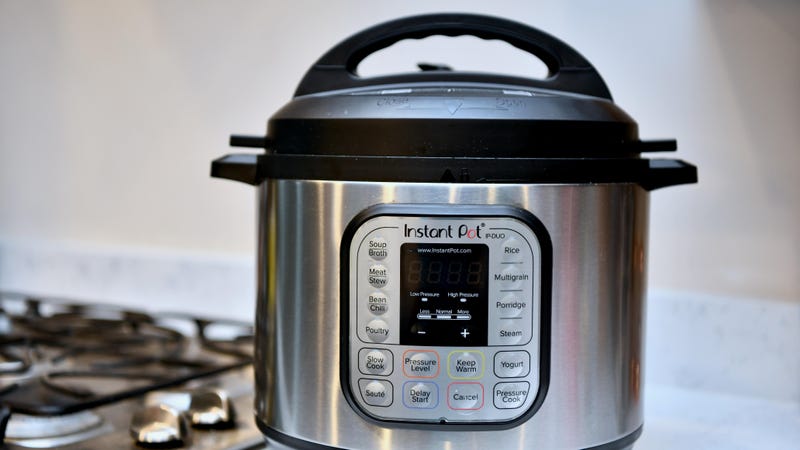
Photo: Jeramey Lende (Shutterstock)
The “5-5-5" method of cooking eggs in the Instant Pot is popular for a reason—it turns out peel-able eggs every time—but I usually drop that second “5.” Each “5" in the method refers to a number of minutes—five for pressure cooking, five for the “natural release,” and five for chilling, but I always opt for an immediate manual release, as I have found that leaving them in there for that extra five minutes results in the damn grey ring.
Five minutes under high pressure, followed by a manual release and a five minute chill is all you need. Your eggs will come out perfect and peel-able, and your yield is only limited by the size of your pressure cooker.
Add extra yolks

Photo: Aimee Lee Studios (Shutterstock)
As I said a few slides ago, yolks are the entire point of this appetizer, and you can make your deviled eggs better by adding more of them to the filling. No one has ever said “I wish these deviled eggs had less filling, so I could really taste the white,” and no one ever will. Give the people what they want—an extra yolk or two in every batch of deviled eggs. (Then give the dog what they want—the leftover egg white in their bowl.)
Take it easy on the mayo (but don’t skimp on mustard)
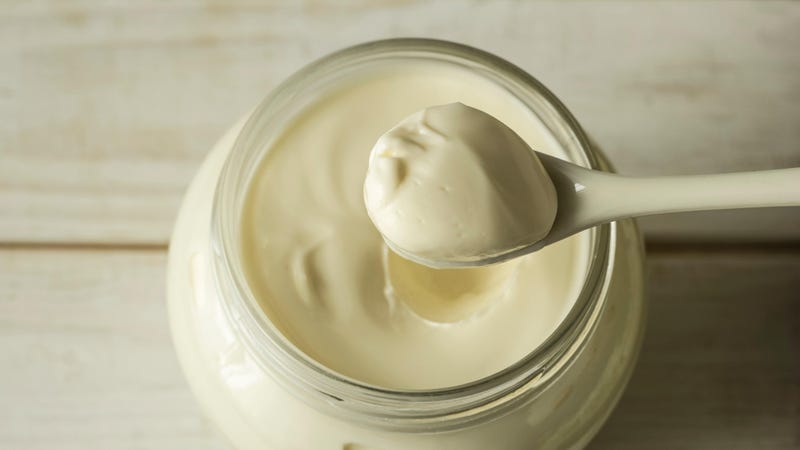
Photo: Tutatamafilm (Shutterstock)
Mayonnaise is an important part of the deviled egg, but it can be easy to go overboard. Too much mayo not only dulls the flavor of the yolk, but you can end up with a mouthful of mostly mayonnaise, and that’s a terrible feeling. For a dozen deviled eggs (made with six whole eggs), a couple of tablespoons will be plenty, provided you haven’t overcooked the eggs.
In terms of mustard, it’s non-negotiable. Mustard is the “deviling” ingredient, and you need its vinegary punch to cut through the richness of the other ingredients. You need at least a tablespoon per batch, and you should probably use classic yellow. (A case could be made for a spicy brown or horseradish mustard, provided the acid level is kept high.)
Season your filling
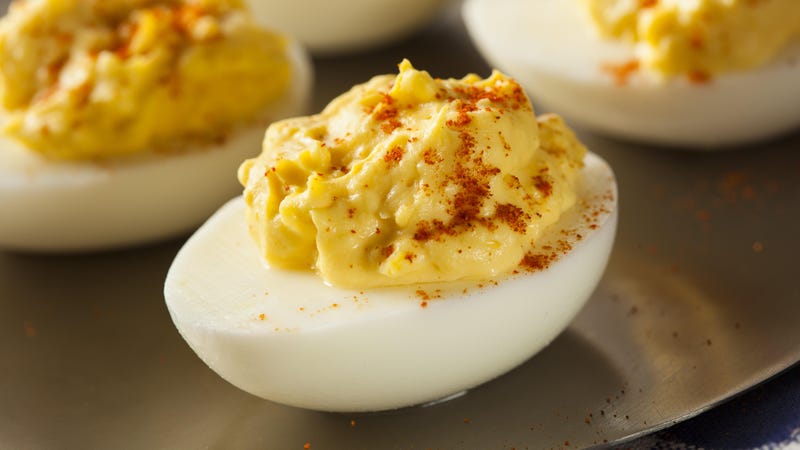
Photo: Brent Hofacker (Shutterstock)
Deviled eggs are a simple dish, but even the simplest of dishes need salt and pepper. (Use white pepper if you want to dark specks in your bright yellow filling.) Deviled eggs also need paprika, preferably smoked. If you want to go wild—and a lot of people love to riff on the humble deviled egg—you can add a pinch or two of MSG to up the egg’s savoriness.
For salt and pepper, I’ve always found it best to taste as I go. (Mainly because I enjoy having an excuse to eat some of the filling, which is my right as the deviled egg preparer.)
Top ‘em off with cured egg yolk
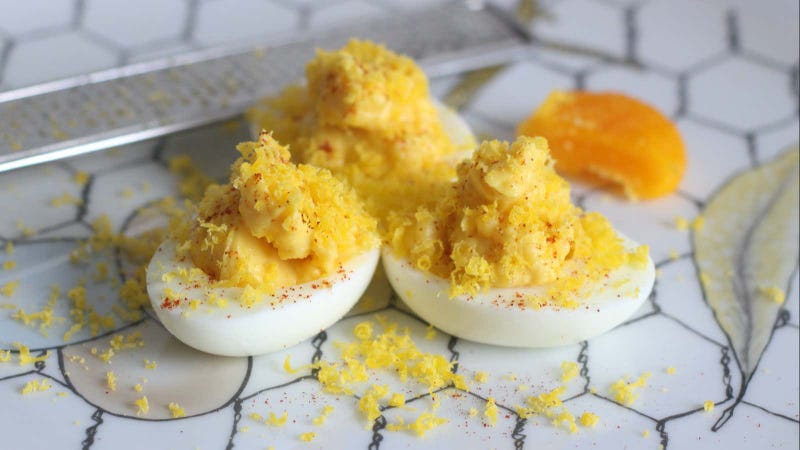
Photo: Claire Lower
Real yolk heads know that cured egg yolks—yolks that have been nestled in a mixture of equal parts sugar and salt until they take on a solid, grate-able consistency—are concentrated, intense, savory versions of their former selves, and that flavor is exactly what you want in a deviled egg. The contrast of salty cured yolk and creamy mashed yolk is heavenly, and it looks very fancy.
Make the filling extra creamy with a bit of butter

Photo: Ezume Images (Shutterstock)
If creaminess is what you’re after, you cannot go wrong with butter. Butter and eggs are a natural combination—frying them in butter is obviously good, but try spreading a bit on your next hard-boiled egg, and you’ll see what I mean. You don’t need a lot. Just a tablespoon per dozen yolks is enough add a creamy, fatty mouthfeel without obscuring the yolk.
Get luxe with caviar

Photo: MaraZe (Shutterstock)
Putting a few fish eggs on a chicken egg is the appetizer version of the turducken, and it rules. I’m generally a “no fancy garnishes, please” type of deviled egg eater, but there is something about briny, umami-heavy caviar spooned on top of rich and creamy deviled egg filling that I cannot deny. (Get a cheap, very salty caviar for this. No need to spend the big bucks if it’s going on a mayo-heavy stuffed egg.)
Fix runny filling with instant mashed potatoes
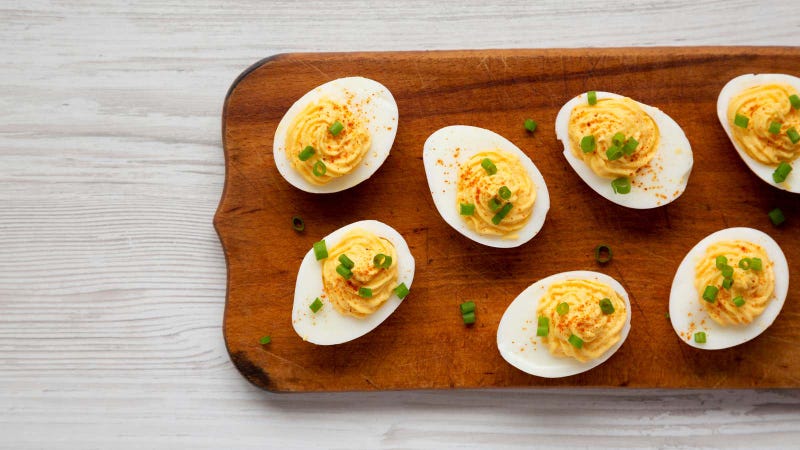
Photo: Liudmyla Chuhunova (Shutterstock)
When paired with a stubborn refusal to measure anything, an unbridled enthusiasm for mayonnaise or a faulty mustard bottle can result in a deviled egg filling that’s just a little too heavy on the condiments. Instead of being creamy—yet fluffy—too much mayo or mustard renders the insides of your eggs liquidy and unpleasant. Luckily, you can fix it with a few teaspoons of instant mashed potatoes.
Add the dehydrated potato flakes slowly—a few teaspoons at a time—and mix well between each addition. The flakes will be a little crunchy at first, but they will soften as they absorb the moisture from the filling. If you’re concerned about texture, you can always toss the filling in the food processor or blender to make it smoother.
Mash the filling in a plastic bag
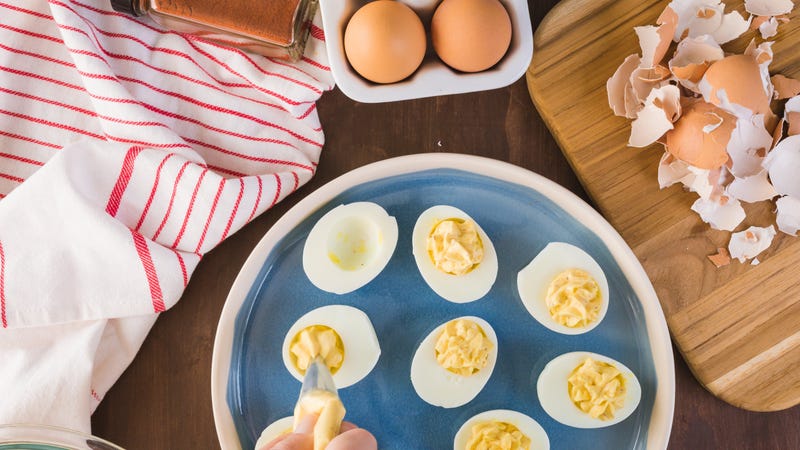
Photo: Arina P Habich (Shutterstock)
Mashing deviled egg filling in a bowl is a perfectly reasonable course of action, but I usually throw everything in a freezer bag—mayo, mustard, and all—then mash it up in the bag, cut the tip off, squeeze it directly from the bag into the empty whites. It makes clean up much easier (unless you are a fan of licking the bowl, in which case, please continue to live that life).
This article was written by Claire Lower from Lifehacker and was legally licensed through the Industry Dive publisher network. Please direct all licensing questions to legal@industrydive.com.


