No matter how many flawless custards or mirror glazes you’ve made in your life, some culinary techniques just seem to invite disaster, especially those that hinge on precise temperature control. If you need to evenly heat a delicate substance to a precise temperature, the microwave might seem like a horrible choice—but it’s often the best tool for the job.
Traditional heating methods—double boilers, ovens, skillets, and the like—heat food via thermal conduction, so the outer layers necessarily heat before the center does, even with constant whisking or stirring. Uneven heat is the enemy of temperature-reliant processes like tempering chocolate or caramelizing sugar, so an old electric range or uncalibrated oven can really work against you. Double boilers and bains-marie can effectively moderate finicky heat sources, but they could add excess moisture to whatever you’re cooking. In some cases, a little water is no big deal—but in others, it’s the kiss of death.
If you’re trying to heat a homogenous liquid to a specific temperature as quickly and evenly as possible, the humble microwave oven won’t let you down. Microwaves work by making water, fat, and sugar molecules spin around like crazy—which releases heat—so they cook the interior of liquids at roughly the same rate as the exterior. (This isn’t true for solid foods, especially frozen items like Hot Pockets, whose molecules are tied up in rigid structures that prevent them from rotating at a consistent rate.) Even better, they’re usually so powerful that whatever temperature increase you’re after happens in mere minutes.
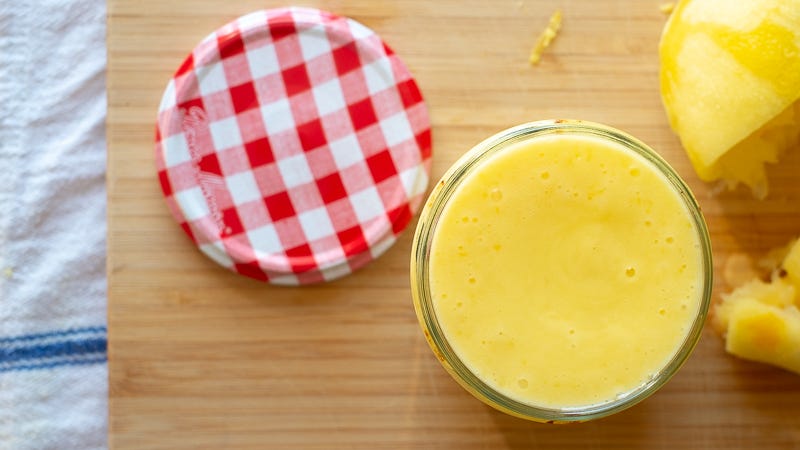
Zapping a custard in the microwave feels like cheating—but the results will convert you. I’ve recently started cooking lemon curd in the microwave, and I’m never going back. As custards go, lemon curd is pretty chill; it doesn’t need to be tempered, and all that acid facilitates a smooth emulsion. That forgiving nature makes lemon curd a perfect poster child for this method. If the microwave significantly improves an already-simple process (and it sure does), just think of what it can do for more annoying ones; consider this a gateway drug to the wonderful, low-pressure world of microwaved custard.
Microwave Lemon Curd
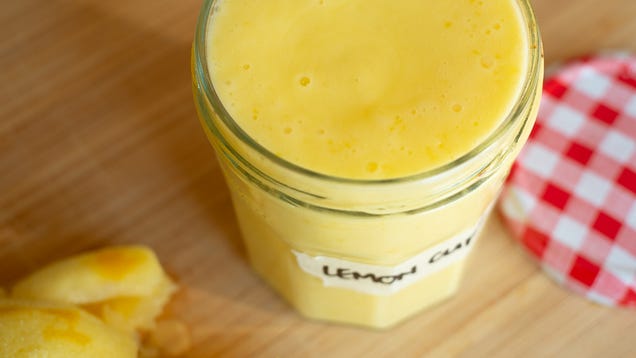
The proportions called for below work perfectly for my tastes—super-tart, with a good hit of salt to balance the sugar, and soft enough to eat like pudding straight from the jar—but if you’re in a committed relationship with a specific lemon curd recipe, use that one. Just don’t skip the microwave, which is kind of the whole point here. A fast-read electronic thermometer will ensure you nail the temperature, but skip it if you’re confident in your ability to eyeball a perfectly-cooked custard.
A note on lemon size: the lemons at ALDI have been absolute units as of late, so two of them yielded a generous half-cup of juice and a mountain of zest. If your lemons are smaller, you might need three, or even four. This will make just about a cup and a half of curd, which perfectly fills a repurposed jam jar; it scales well though, so make as much as your heart desires.
Ingredients:
- ½ cup (200 g) granulated sugar
- ¼ teaspoon table salt
- Zest and juice of two large or three medium lemons; you need about ½ cup (120 milliliters / 120 grams) of juice
- 1 large egg plus 1 egg yolk
- ½ stick (4 ounces, 114 grams, 4 tablespoons) salted butter
Instructions:
Measure the sugar and salt into a large, microwave-safe bowl or measuring cup. Zest the lemons directly into the sugar and salt, then rub together with your fingertips until everything smells nice and lemony.
1 / 2
Pour in the egg, egg yolk, and lemon juice; blitz with a stick blender to combine. (If you don’t have a stick blender, whisk aggressively.) Taste and add a bit more sugar if needed.
Transfer the egg-lemon-sugar mixture to the microwave and heat on full power in one-minute increments, stirring between each zap, until it reaches 185ºF (85ºC). Depending on your microwave, this will take anywhere from three to ten minutes—this specific batch took about five. It’s pretty hard to overcook the curd a minute at a time, but if you’re worried about it, just work in 30-second increments.
1 / 3
Stir the butter into the hot lemon-egg mixture until fully incorporated, then give the curd one final blitz with the stick blender or whisk. If you see lumps of cooked egg, or just prefer a completely smooth finished product, pour the curd through a fine mesh strainer before transferring to a storage container. Taste once more, adding more sugar, salt, or lemon juice as needed.
Cover and cool to room temperature before refrigerating. It’ll keep for a couple weeks in the fridge, but if you’re worried about longevity, lemon curd freezes beautifully.
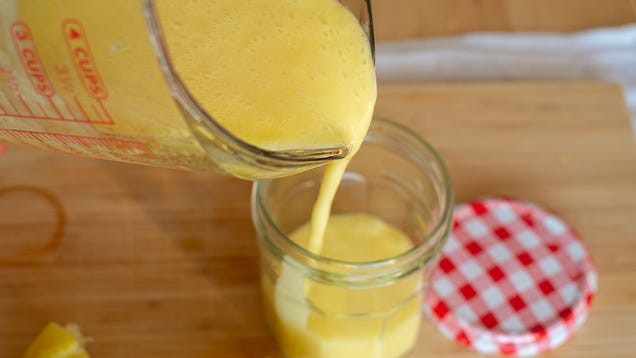
Having lemon curd around in the summertime makes it easy to whip up flavorful, refreshing desserts without spending hours sweating over a hot stove. I especially love it as the main flavoring agent in a lemon cheesecake or tart filling, but it’s also great dolloped on panna cotta or vanilla ice cream. Really, though, you can put it on anything—or just eat it from the jar with a spoon.
This article was written by A.A. Newton on Skillet and shared by A.A. Newton to Lifehacker from Lifehacker and was legally licensed through the NewsCred publisher network. Please direct all licensing questions to legal@newscred.com.


