Congratulations! Your beautiful bird is fresh from the oven, golden brown, and ready to share with family and friends. There’s just one thing. How do you carve it to maintain flavor and moisture - and guarantee a beautiful presentation? Follow these 10 easy steps to a perfectly carved turkey.
1. BEFORE YOU CARVE
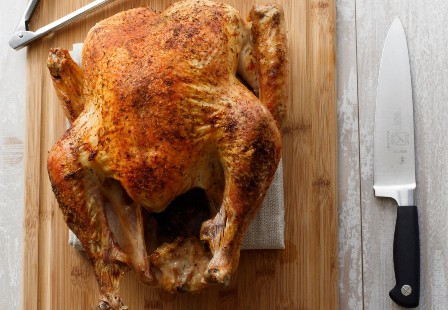
Allow the turkey to rest for at least 30 minutes before carving to preserve its flavorful juices. Place a kitchen towel underneath the turkey to keep it from slipping as you work.
Test Kitchen Tip: Don't cover the turkey with plastic wrap or foil after it comes out of the oven. Doing so will steam the skin and cause it to lose its crispness.
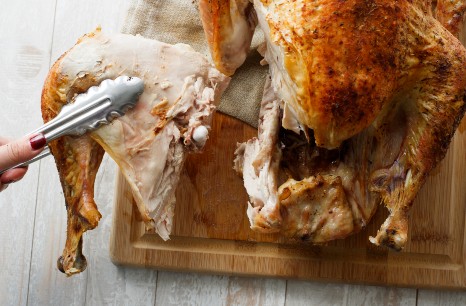
2. SLICE THE LEG & THIGH
Slice the skin where the leg and breast connect.
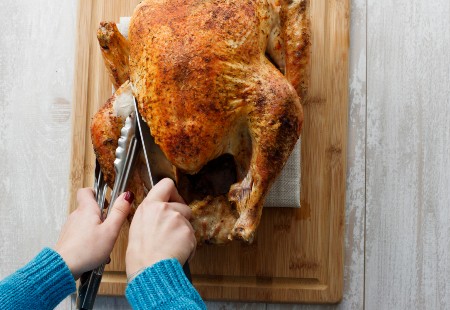
3. CUT THROUGH THE SOFT CARTILAGE
Bend the leg back until it pops, then insert your knife where the leg bone connects to the body. There you will find soft cartilage that can be easily sliced through.
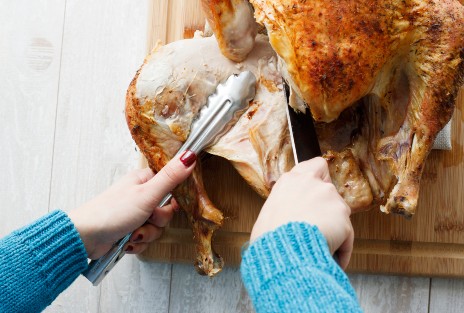
4. REMOVE THE LEG & THIGH
Here you can see where the leg has been disconnected from the rest of the turkey.
5. CUT THE WING
Slice the skin at the joint and twist to remove.
6. SLICE THE BREAST FROM THE TURKEY
Locate the breast bone of the turkey and cut along the side of it. (Note the curve of the rib cage. Instead of slicing through it, cut around it.).

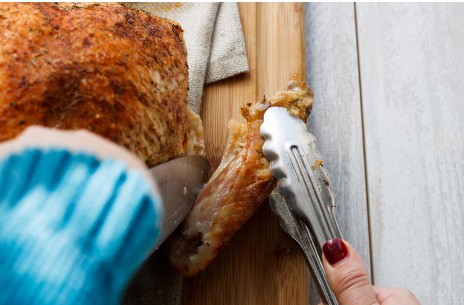
7. CUT APART THE LEG AND THIGH
Slightly pull apart the drumstick and thigh. Cut between where the two bones connect. There will be soft cartilage here, similar to how the leg was connected to the whole turkey (See Step Three).
8. SLICE THE THIGH FOR SERVING
Remove the skin from the thigh and slice.
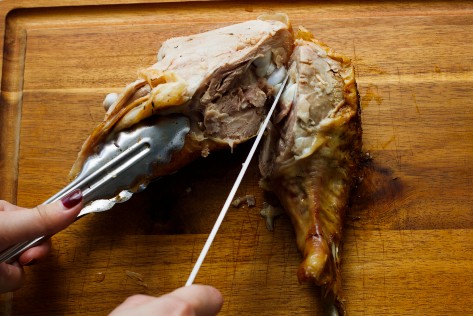
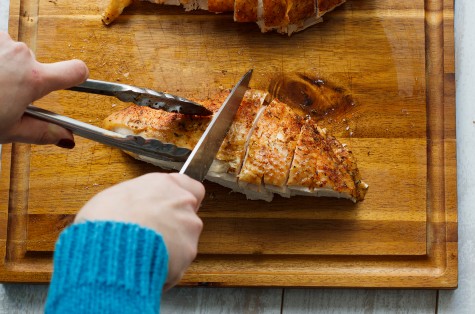
9. CARVE THE BREAST INTO INDIVIDUAL SLICES
Slice the breasts against the grain. By slicing this way, you are tenderizing the meat.
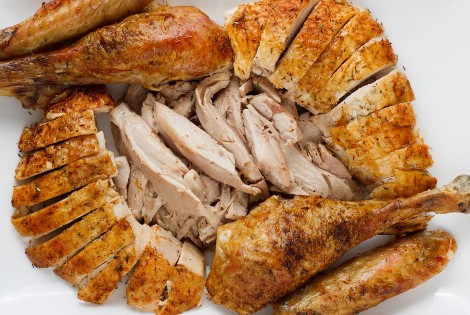
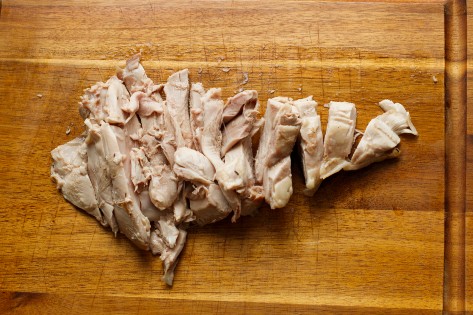
10. YOUR TURKEY MASTERPIECE IS READY TO SERVE!
Arrange all of the turkey pieces on a decorative platter and serve warm.