As a California girl, I knew nothing about making biscuits. I never learned how in my bread baking classes at the Le Cordon Bleu either. Scones, yes. Biscuits, not so much.
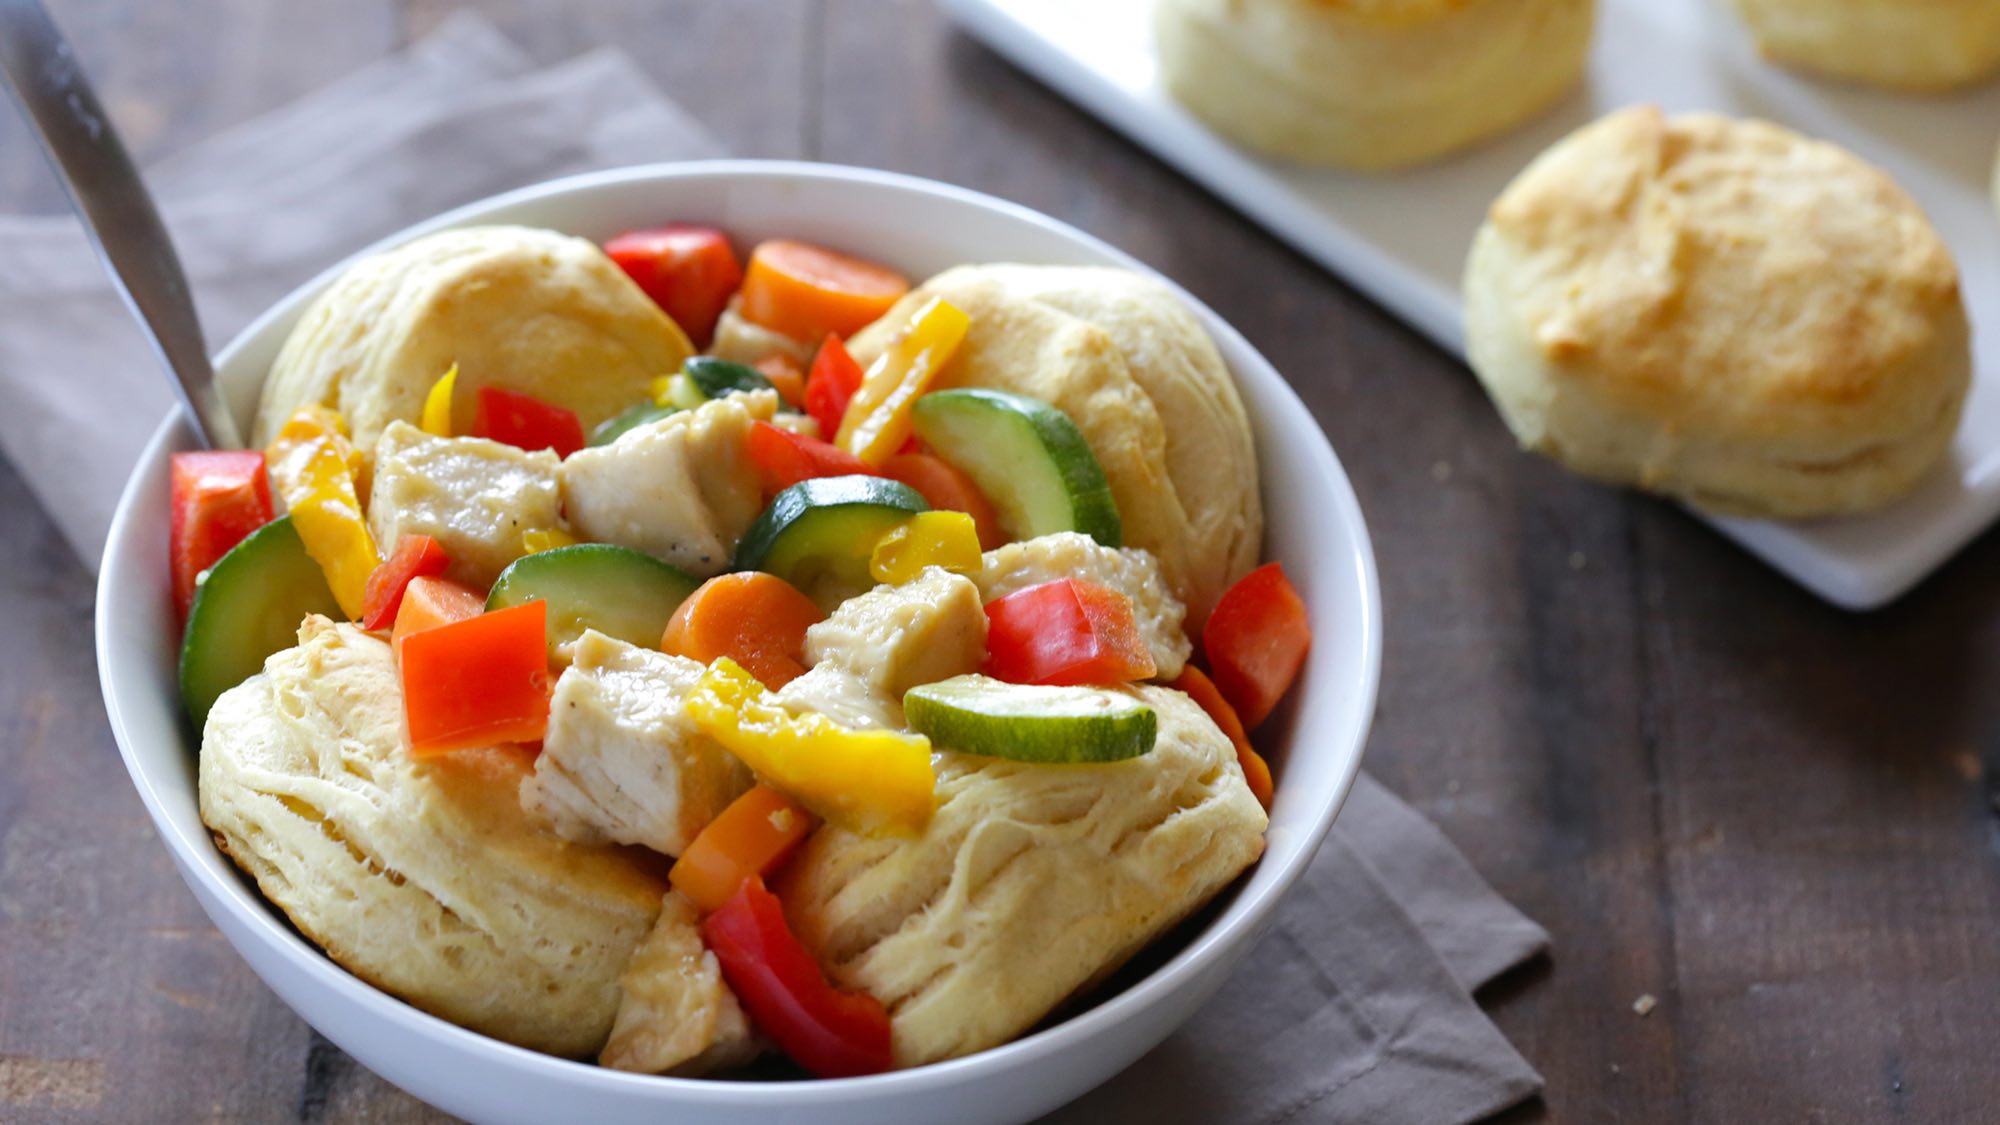
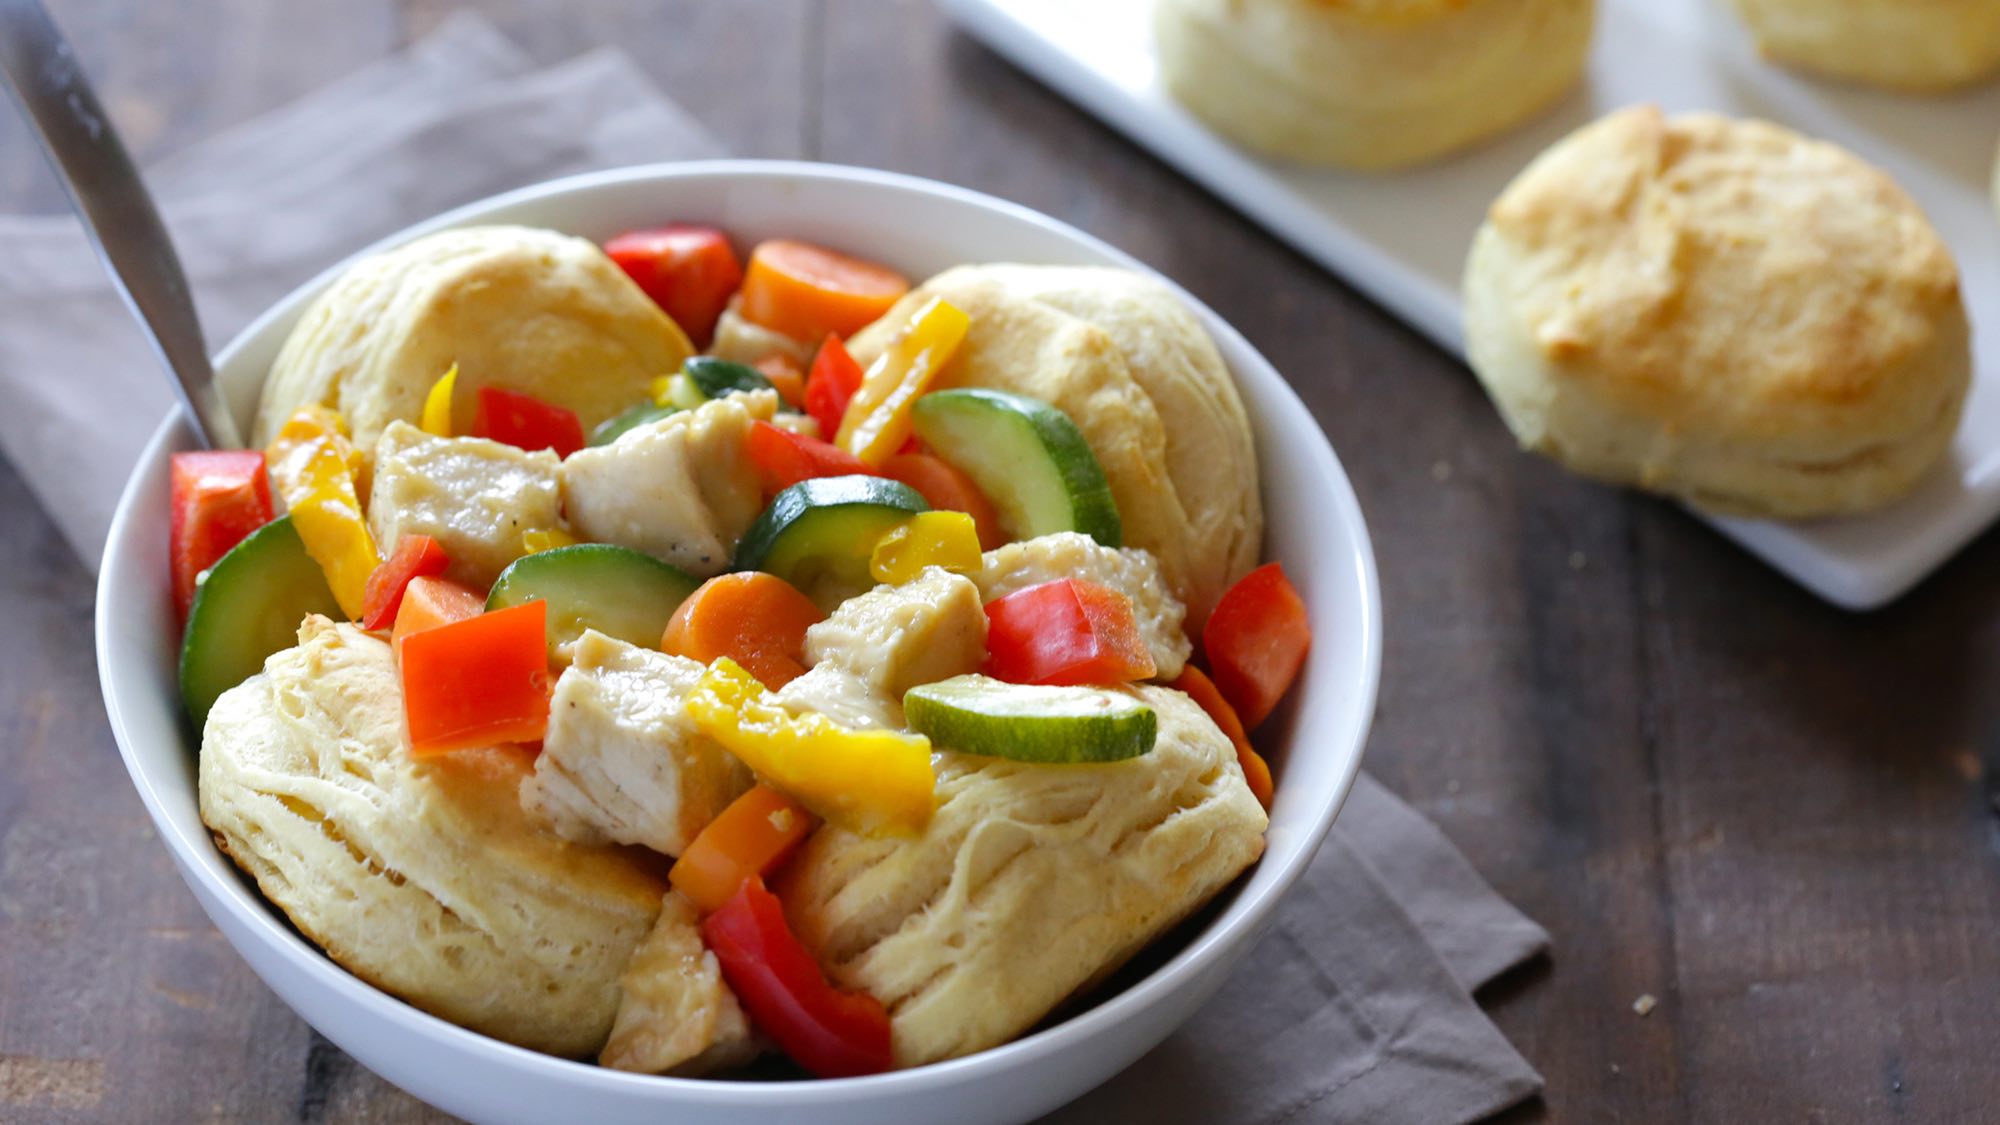
So imagine how thrilled I was to have a personal class with my Southern belle buddy Cynthia Graubart. The co-author of "Southern Biscuits" (Gibbs Smith, $24.99) shipped me a special flour, and when she arrived for a visit we rolled up our sleeves and made biscuits. Tender, crisp on the outside, fluffy on the inside, heavenly biscuits. I couldn't believe how easy it was once you get the hang of it.
Not only is it a fun activity to do with a friend, but it is also Seriously Simple. While these directions look long and complicated, they are in fact a guide to foolproof biscuit-making. Graubart named this particular dish after her daughter Rachel because she could make them at a young age.
How can biscuits only contain two ingredients? As Graubart explains it, the flour is self-rising and the fat is in the cream so there's no need for any other ingredients. I do hope you will try these biscuits when you are in the mood for this Southern signature bread. I think they would make a lovely addition to any Easter brunch with butter and jam, or alongside the main course in place of bread. If you feel like you need even more help, check out Graubart's biscuit-making on YouTube.
Photo: McCormick
Biscuit tips
--Fork-sift means using a fork to sift the flour right in the bag to lighten it.
--Use a shallow wide bowl to mix the dough.
--The dough should be sticky and slightly wet.
--Push the dough together without overhandling.
--Use a plastic flexible mat to turn over the dough.
--You can make these ahead and gently reheat, if desired.
--Never turn the biscuit cutter; push down and then release the biscuit; otherwise, the biscuit won't rise properly.
Photo: McCormick
Rachel's Very Beginner Cream Biscuits
Makes 12 to 14 (1/2-inch thick) biscuits
2 1/4 cups commercial or homemade self-rising flour, divided
1 1/4 cups heavy cream, divided
Butter, softened or melted, for pan and finishing
1. Preheat oven to 450 F. Select the baking pan by determining if a soft or crisp exterior is desired. For a soft exterior, use an 8- or 9-inch cake pan, a pizza pan or an ovenproof skillet where the biscuits will nestle together snugly, creating the soft exterior while baking. For a crisp exterior, select a baking sheet or other baking pan where the biscuits can be placed wider apart, allowing air to circulate and create a crisper exterior. Butter the pan.
2. Fork-sift or whisk 2 cups of the flour in a large bowl, preferably wider than it is deep, and set aside the remaining 1/4 cup. Make a deep hollow in the center of the flour by pressing with the back of your hand. Slowly but steadily stir 1 cup of cream, reserving 1/4 cup cream, into the hollow with a rubber spatula or large metal spoon, using broad circular strokes to quickly pull the flour into the cream.
3. Mix just until the dry ingredients are moistened and the sticky dough begins to pull away from the sides of the bowl. If there is some flour remaining on the bottom and sides of the bowl, stir in just enough of the reserved cream to incorporate the remaining flour into the shaggy, wettish dough. If the dough is too wet, use more flour when shaping.
4. Lightly sprinkle a flexible plastic cutting board, wooden board or other clean surface with some of the reserved flour. Turn the lumpy, wettish dough out onto the board and sprinkle the top of the dough lightly with flour if sticky. With floured hands, fold the dough in half and pat it into a 1/3- to 1/2-inch-thick round, using a little additional flour only if needed. (If using the flexible plastic sheet, fold the sheet over itself to fold the dough.) Flour again, if sticky, and fold the dough in half a second time.
5. If the dough is still clumpy, pat and fold a third time. Pat dough into a 1/2-inch-thick round for normal biscuits, a 3/4-inch-thick round for tall biscuits, or a 1-inch-thick round for giant biscuits. Brush off any visible flour from the top. For each biscuit, dip the biscuit cutter into the reserved flour and cut out the biscuits, starting at the outside edge and cutting very close together, being careful not to twist the cutter. The scraps may be combined to make additional biscuits, although they will be tougher.
6. Using a metal spatula if necessary, move the biscuits to the pan or baking sheet. Bake the biscuits on the top rack of the oven until light golden brown, about a total of 10 to 14 minutes. After 6 minutes of baking, rotate the pan in the oven so that the front of the pan is now turned to the back, and check to see if the bottoms are browning too quickly. If so, slide another baking pan underneath to add insulation and retard the browning.
7. Continue baking another 4 to 8 minutes, until the biscuits are light golden brown. When they are done, remove from the oven and lightly brush the tops with softened or melted butter. Turn the biscuits out upside down on a plate to cool slightly. Serve hot, right side up.
This article is written by Diane Rossen Worthington from Seriously Simple and was legally licensed via the Tribune Content Agency through the NewsCred publisher network. Please direct all licensing questions to legal@newscred.com.


