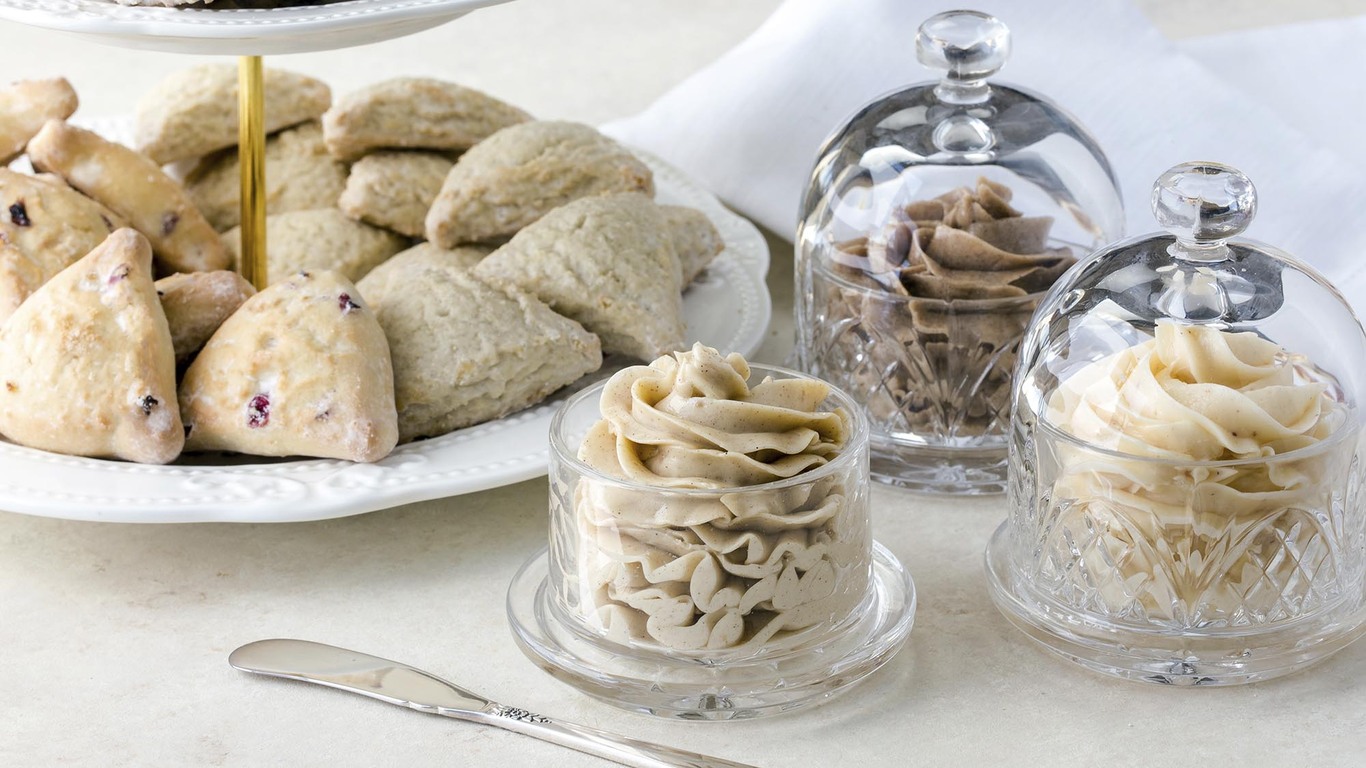
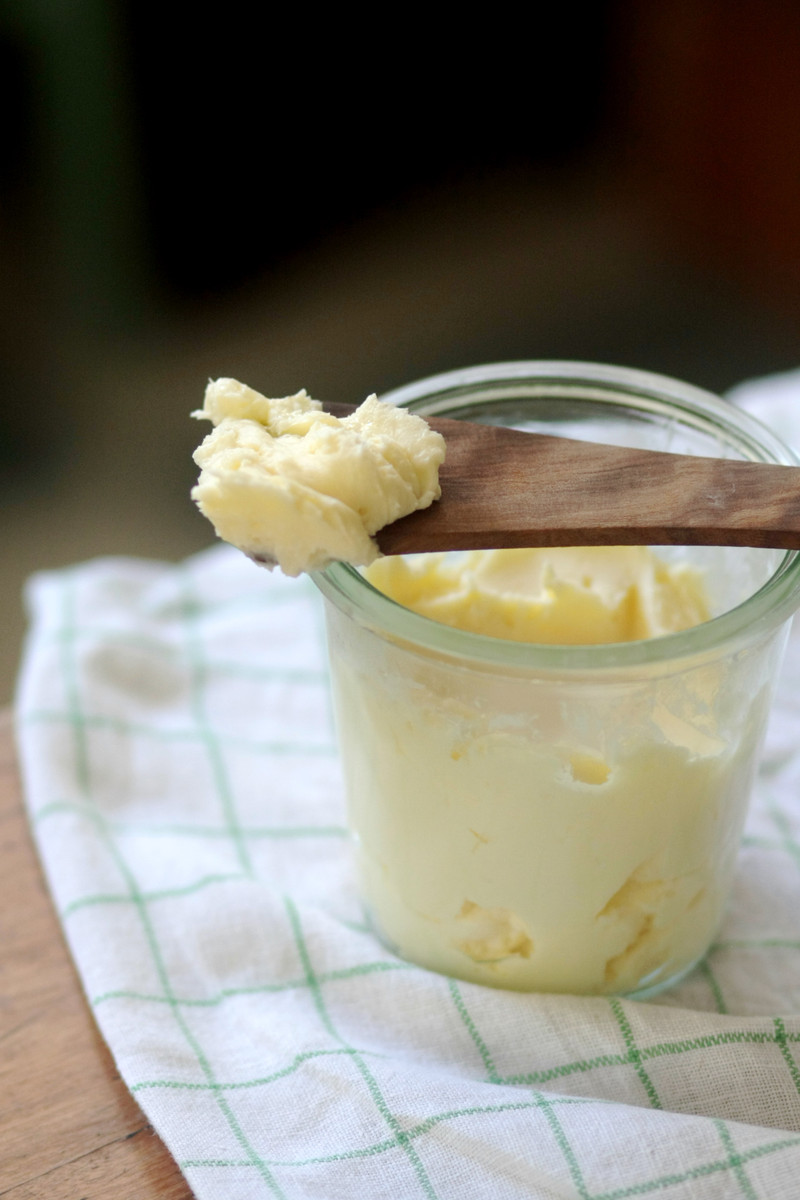
When was the last time you made your own butter? Was it in kindergarten when your teacher poured cold cream into a jar and every kid in the class got a chance to shake it? If it has been some time since you’ve tried this DIY treat, then read on for our easy, no-shaking-jars method for making your own. And if you’ve never tried cultured butter — the more sophisticated, deeply-flavored version of butter — then this post is especially for you!
Why bother?
First, it’s easy and fun, which is why kids often like to do it! Second, it produces another great DIY: buttermilk! This is the true buttermilk; not the thickened stuff we’re used to buying in the stores today. It has a clean, fresh, tangy taste (especially if you cultured your cream) and it can be used in most recipes that call for buttermilk.
DIY butter also makes an excellent gift. Just pack it into a pretty jar or roll it into a log and wrap it in waxed or parchment paper. It freezes beautifully, so even if you don’t think you will use it right away, you can still whip up a batch and have a nice stash.
The cream
Be sure you use quality cream for your butter. Since it’s practically your only ingredient, you will taste the difference. I purchased a local, organic, homogenized “whipping cream” from my supermarket for this post and it worked beautifully. If possible, avoid ultra-pasteurized cream as the super-high heat used to in this type of pasteurization destroys much of the cream’s flavor.
Many people swear that raw cream as the best choice for making butter and I’m sure it’s delicious. But since it is hard to come by for many people and expensive to purchase, I did not experiment with it for this recipe.
Culturing the cream
Culturing the cream before you churn it is really the way to go, in my opinion. You don’t have to do this to make good butter, but you do have to do it to make great butter! Back before refrigeration, all butter was cultured as a way to keep it from spoiling. It’s super easy to do, but you do need to allow for some extra time for the culturing (usually 12 to 24 hours), so you can skip this step if time is not on your side.
There are butter cultures you can purchase from cheese-making suppliers, but I simply use yogurt since it is so readily available. My local dairy (Strauss) makes an excellent yogurt, and that is what I used for this recipe. As with the cream, try to avoid an overly processed yogurt. My yogurt contains milk and yogurt culture and nothing else: no stabilizers, flavorings or other additives.
The cream will need to sit at a slightly warm temperature to culture, about 70 F to 75 F. Once it’s cultured, it should be chilled to about 60 F to churn properly. Personally, I never measure temperatures when I make butter: After culturing, I pop the bowl into the refrigerator for about 1 hour to chill it. If I don’t think I will churn it right away, I leave it in the fridge for longer and then let it rest at room temperature for about an hour to take some of the chill off.
What about salt?
Since I use my home-churned butter for spreading and cooking, a little salt is a nice addition. It improves the flavor and contributes to its shelf life as salt is a natural preservative. But it is optional and if you’re not sure how you will be using your butter, you may want to leave it out. If you do add salt, be sure to add it at the very end so you don’t rinse it away in the final washing process.
What’s with the washing?
Even after the butter has been drained and pressed, it’s still holding onto a lot of buttermilk. You want to rinse out as much of this as possible as the buttermilk will contribute to early spoilage. Some people like to squeeze the butter in their hands under cold running water, but I prefer the ice water in a bowl method (see recipe note).
How to Make Butter (and Cultured Butter!)
Makes about 1 cup of butter and 8 ounces of buttermilk
Recipe can easily be doubled
1 pint (2 cups) heavy cream, preferably organic and not ultra-pasteurized
2 tablespoons plain yogurt (optional)
Scant 1/4 teaspoon of salt (optional)
2 or 3 cups of ice water, for washing the butter
Optional culturing equipment:
Bowl
Measuring cups and spoons
Whisk
Clean kitchen cloth
To make the butter:
Sturdy sleeve
Cheesecloth or clean napkin
Bowl for catching buttermilk
Stand mixer, hand mixer, food processor, or canning jar (or other covered container)
Plastic wrap or kitchen cloth
Spatula or wooden spoon
Clean containers for butter and buttermilk
Waxed paper or parchment paper (optional)
Culture the cream (optional)
1. The day before you would like to make your butter, pour the cream into a bowl (I like to use the bowl of my stand mixer) and add the yogurt.
2. Whisk briefly to combine and cover the bowl with a clean kitchen towel. Set in a slightly warm place (about 70 F to 75 F) to culture. Check after 8 to 12 hours. The cream is ready when it has thickened slightly and is a little foamy. It will smell slightly sour and tangy. This can possibly take an additional 12 to 24 hours (see notes).
3. Once it has cultured, place it in the refrigerator for about 1 hour to chill.
Prepare the sieve and mixer:
1. If you did not culture your butter, let it warm on the counter for about an hour (to about 60 F) before churning. Place a sturdy sieve over a bowl and line with a few layers of cheesecloth or a clean napkin. You can use a stand mixer, a hand mixer, a food processor, or a canning jar to churn your cream. (See notes if you want use a canning jar.)
Prepare the cream and mixer for churning:
1. Place the cream in the bowl of your mixer or processor. Cover the top with plastic wrap or a kitchen towel to prevent splattering.
Churn the cream:
1. Turn on the mixer to medium-high. The cream will first whip into peaks (at around 2 minutes) and then become grainy (around 3 minutes).
2. Keep whipping until the solid mass (butter) and liquid (buttermilk) are separated (about 5 minutes total). The mixture will splatter heavily in the final stages of churning, so be sure the plastic wrap is secure. The process may take a little longer, up to 8 to 10 minutes, although it usually takes me less than 5 minutes.
Strain off the buttermilk:
1. Pour the buttermilk through the cheesecloth and strainer, holding the butter solid back. Allow the buttermilk to strain through, then plop in the butter.
2. Gather the cloth around the butter and press it hard with your fist. Do this several times to get as much buttermilk out of the butter as possible.
3. Pour the buttermilk into a container, label and refrigerate.
Wash the butter:
1. Rinse out the bowl used for buttermilk.
2. Remove the butter from the cloth and place it in the bowl.
3. Add 1/2 cup of ice water to the bowl, and using a spatula, press the butter into the ice water. It will quickly become cloudy with buttermilk.
4. Pour off the cloudy water, add another 1/2 cup of ice water to the bowl, and keep pressing. Repeat until the water is clear. This may take up to 6 washings. The butter will firm up toward the end, so you may find it easier to use your hands.
Salt the butter (optional):
1. Sprinkle the salt over the butter and knead in. Again, your hands may be the best tool here.
Store the butter.
1. Pack the butter into a jar with a cover or roll it into a log using waxed paper or parchment paper. The butter will keep in the refrigerator for about three weeks or can be frozen for several months.
Recipe notes
Notes on culturing: Many factors will influence how long the cream takes to culture, including ambient room temperature, how your cream was processed and pasteurized, how your yogurt was processed and pasteurized, etc. If the cream cultures too quickly and you’re not ready to make the butter yet, simply put it into the refrigerator until you are ready. Just be sure you remove it about an hour before churning so that it can warm up a bit.
Cultured cream will be thickened and slightly foamy, and it will have a somewhat tangy, almost yogurt-like smell. Trust your senses! If you feel it is too strong and has gone bad, throw it away. But remember that the yogurt is introducing beneficial cultures that help prevent spoilage, so the likelihood of this happening is small.
Unplugged butter: You can skip the electric mixer/processor and simply shake your cream in a covered canning jar or well-sealed container until it forms into the butter mass. This can take time, up to 20 minutes or more, so be prepared for a work-out or solicit some help.
This article is written by Dana Velden, TheKitchn.com from The Kitchn and was legally licensed via the Tribune Content Agency through the NewsCred publisher network. Please direct all licensing questions to legal@newscred.com.


