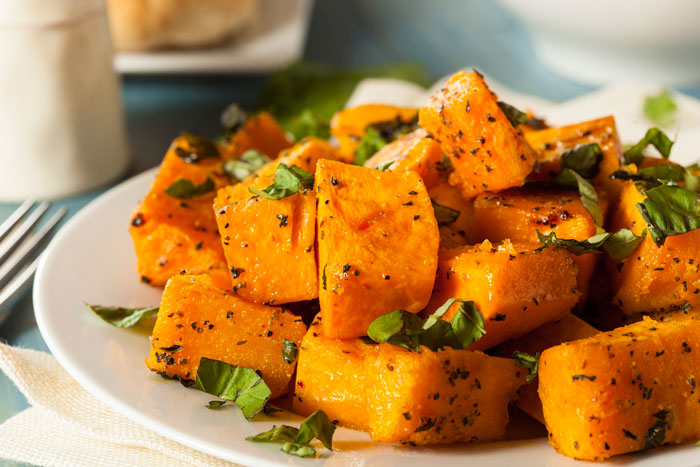
If I don't pry myself away from the baking sheet, I could eat a whole tray of roasted butternut squash straight out of the oven. It's not only my favorite fall vegetable -- it's my favorite vegetable, period. That's because when roasted, cubes of butternut squash takes on a deliciously sweet flavor with super-crispy edges and a tender, creamy center.
If you start with a whole butternut squash, these tasty little cubes come at a price. First, you have to peel the awkward-shaped veg without slicing your finger on the peeler or having the slippery squash roll off the cutting board. Then you have to seed it and attempt to chop it into equal-sized pieces so that they cook evenly. Only then can you move forward with roasting.
But we've got a shortcut, so you can be noshing on squash in just 25 minutes: Starting with frozen butternut squash cuts out all the prep.
I used to think all frozen veggies were destined for the microwave or a pot of boiling water, resulting in a bland and waterlogged side dish. After all, those are still the two types of cooking instructions listed on most bags of frozen veggies. But I'm not afraid to go rogue.
Because frozen squash is already peeled and cut for you, all you have to do is season it and throw it into the oven, eliminating at least 20 minutes of work. Honestly, it's convinced me to head straight to the freezer aisle every time I'm cooking squash.
Tasty tips
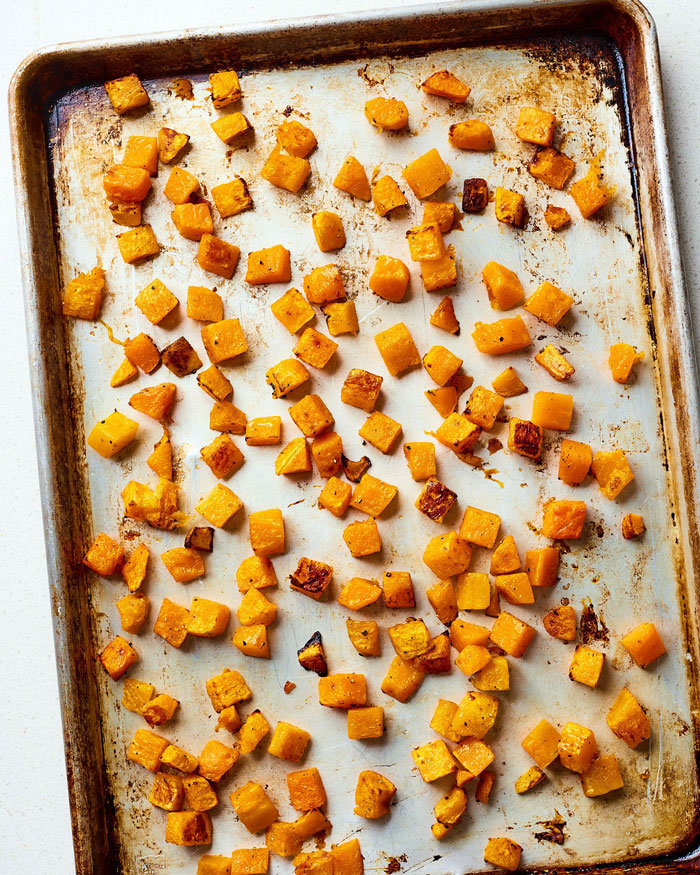
1. Preheat the baking sheet: Letting the baking sheet heat up as the oven heats means that as soon as you add the squash, the ice evaporates and the squash begins to brown and crisp. Making sure the pieces are arranged in a single layer (you'll want to be sure to break apart any pieces that are frozen together) and roasting the squash at a high heat ensures it crisps instead of steams.
2. Don't skimp on the oil and salt: A full two tablespoons of olive oil is enough to create a slick coating on each piece of squash without leaving them dripping in pools of it. The oil helps the squash take on color, and it also adds a rich flavor. And speaking of flavor, give the squash a nice generous pinch of salt -- it will help draw out the vegetable's natural sweetness.
3. Roast on the lowest oven rack: To get that gorgeous caramelized sear on the squash, you want to roast it in the hottest part of the oven, which is on the lowest rack. As it roasts, the squash will form a crispy crust, making it easy to slide a spatula underneath and flip it gently halfway through cooking so the other sides of the squash can have a turn.
Roasted Frozen Butternut Squash
Serves 3 to 4
1 (16-ounce) bag frozen butternut squash (about 4 cups, do not thaw)
2 tablespoons olive oil
1 teaspoon kosher salt
Freshly ground black pepper
Arrange a rack in the lowest oven position, and heat the oven to 450 F. Place a rimmed baking sheet in the oven to preheat.
Place the squash in a medium bowl, breaking up any pieces that are frozen together. Add the olive oil, salt and several grinds black pepper; toss until squash pieces are evenly coated.
Remove the preheated baking sheet from the oven and carefully pour the squash onto it. Arrange the squash in an even layer (this prevents it from steaming).
Roast until squash is tender and crispy in places, gently stirring halfway through to ensure even cooking, 18 to 20 minutes total.
Recipe Notes: Leftovers can be refrigerated in an airtight container for up to five days.
This article is written by Grace Elkus from The Kitchn and was legally licensed via the Tribune Content Agency through the NewsCred publisher network. Please direct all licensing questions to legal@newscred.com.


