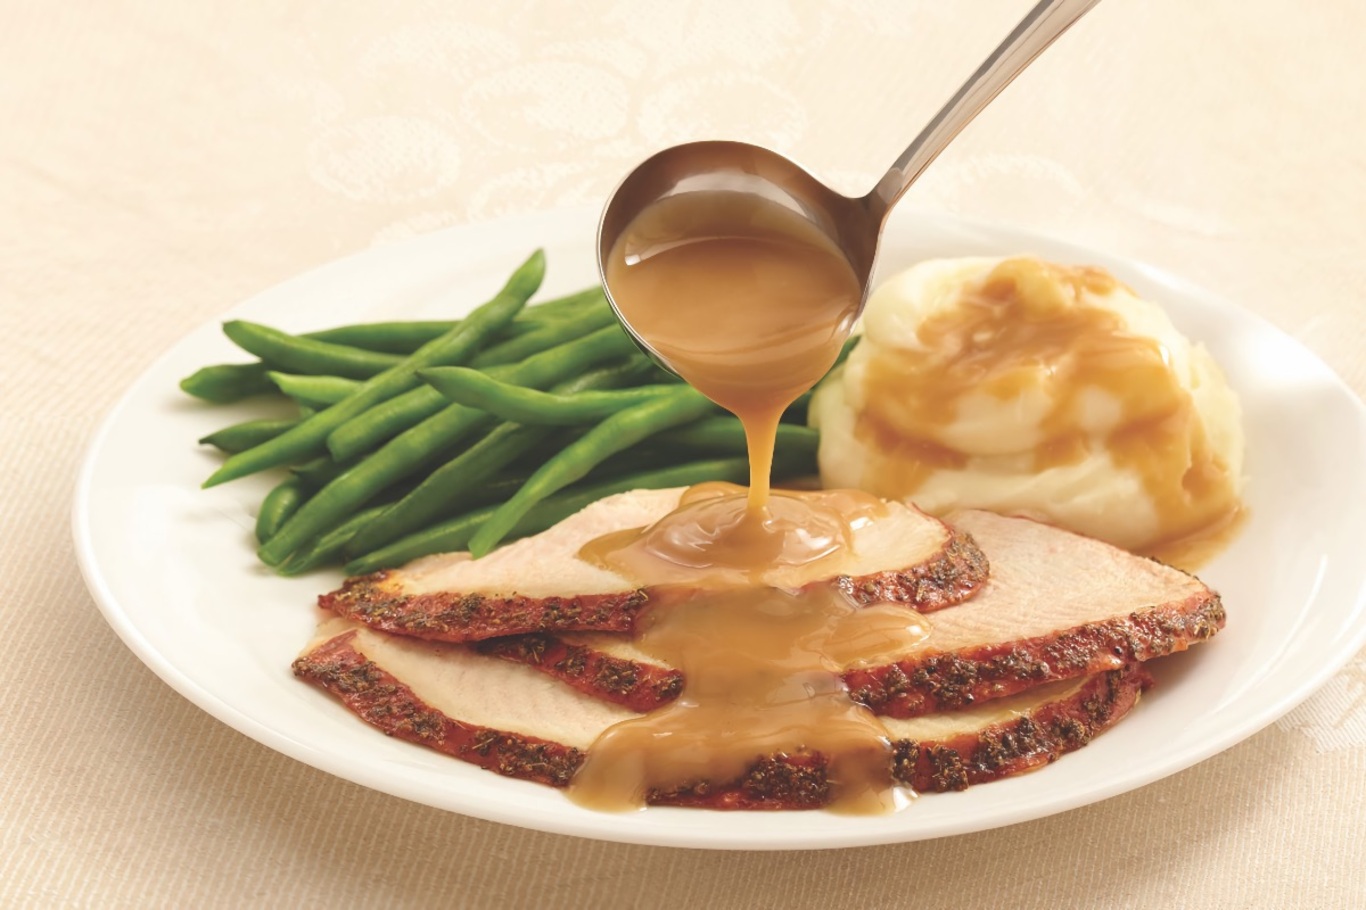
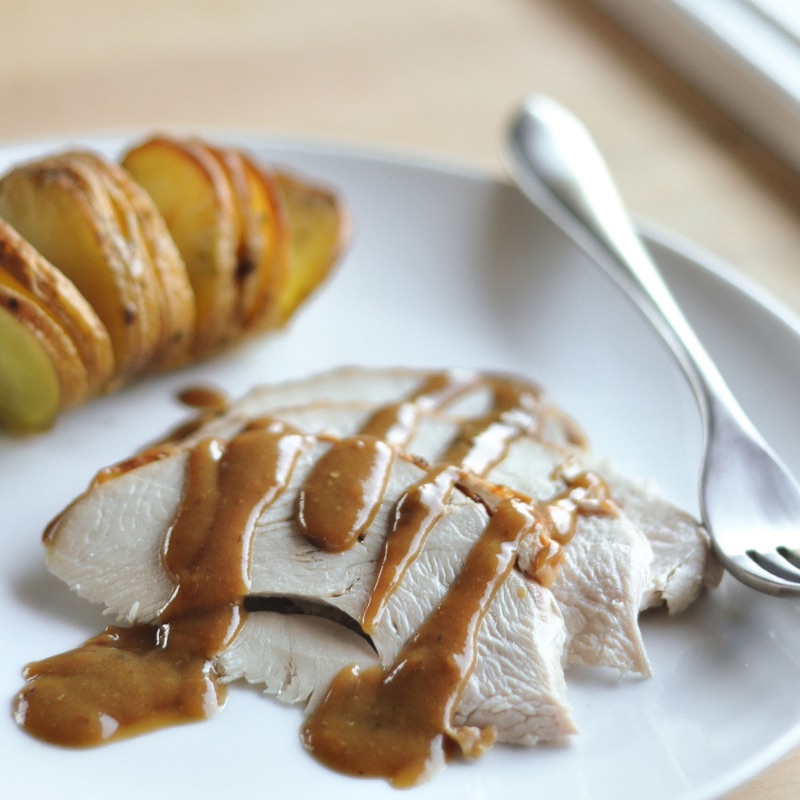
The deeply browned and greasy scrapings from the bottom of the roasting pan might not look like much when you first take the turkey out of the oven. But those drippings are Thanksgiving manna. Let's make some gravy.
There are diverse and wonderful ways to make gravy. You can make it with giblets or you can make it just with broth. You can even make it weeks ahead of time to save yourself some kitchen frenzy on Thanksgiving Day.
My favorite is a plain, old-fashioned gravy from the pan drippings made just seconds before setting all the food on the table. This makes a deeply flavorful gravy that enhances everything on the plate with a touch of savory goodness.
It's also one of the easiest gravies to make, in my opinion. From roux to table, it takes about five minutes and requires only a pan and a whisk. That's something we can handle even after a long day of cooking with the promise of dinner only moments away.
Quick Turkey Gravy
1-2 cups broth or water
1/4 cup turkey fat (substitute: vegetable oil or butter)
1/4 cup all-purpose flour
1 cup pan drippings
Salt and pepper
Optional Extras: splash of sherry, splash of wine, teaspoon of minced herbs like rosemary, thyme, or sage
1. After you've removed the turkey from the oven and set it aside to rest, set the pan over medium-high heat on the stove-top. You may need to span two burners. When the pan drippings are hot and sputtering, pour in a cup of broth and begin scraping all the bits from the bottom of the pan.
2. Pour the deglazed pan drippings into a measuring cup and place this in the refrigerator or freezer, wherever there is space. In the 30 minutes it takes to rest the turkey, the fat and drippings will separate and the fat will begin to harden. This makes it easier to skim off just the fat for making the gravy.
You should ideally end up with about a cup of pan drippings and 1/4 cup of fat. If you have less, you can make up the difference with broth or oil, respectively. If you have more, discard a little of the fat and use less broth in the next step. If you have a lot more, you can also double the recipe.
3. Skim the fat from the top of the pan drippings (or use a fat separator) and warm it in a saucepan over medium-high heat. When the fat is hot, whisk in the flour to form a thin paste. Let this cook for a few minutes until bubbly.
4. Next up, pour in the pan drippings and whisk to combine with the roux. This will form a thick, gloppy paste.
5. Finish the gravy by whisking in a half cup of broth. You can add more broth for a thinner gravy or let the gravy cook a few minutes for a thicker gravy. Taste the gravy and add salt, pepper, and any extras to taste.
Additional Notes:
--For a very smooth gravy, strain the pan drippings before adding them to the gravy.
--Gravy can be kept refrigerated for up to a week or frozen for up to three months. Reheat gently over low heat while whisking occasionally to prevent the sauce from breaking.
This article is written by Emma Christensen from The Kitchn and was legally licensed via the Tribune Content Agency through the NewsCred publisher network. Please direct all licensing questions to legal@newscred.com.


